The Expert Guide to Process of Solar Panel Installation 2026
Discover the expert process of solar panel installation in 2026 with a step by step guide covering site assessment, system design, installation, and ongoing care.
The world is embracing solar energy faster than ever in 2026 as both homeowners and businesses seek cleaner, more cost-effective power solutions. This expert guide will walk you through the entire process of solar panel installation, ensuring you understand each critical step and make informed decisions. From assessing site suitability and designing your system to securing permits, managing installation, passing inspections, and maintaining your investment, every stage is covered. Discover how to maximize solar’s value, spark your interest in renewable solutions, and take confident action toward a seamless, rewarding solar journey.
Assessing Solar Suitability and Site Evaluation
Choosing to go solar begins with a careful evaluation of your property’s suitability. This crucial first step in the process of solar panel installation ensures your system delivers maximum efficiency and financial benefit. Accurate site assessment, performed before any equipment is ordered, lays the groundwork for a successful project.
Understanding Solar Potential and Energy Needs
The process of solar panel installation starts with determining your site’s solar potential. Roof orientation plays a vital role, as south-facing roofs receive the most sunlight, while east or west-facing roofs yield less. Roof tilt and shading from trees or nearby buildings also impact efficiency.
Using advanced solar mapping tools and satellite imagery, professionals analyze available space and sun exposure. For example, a south-facing roof can generate 15-25% higher yields than east or west-facing alternatives. This difference is crucial in the process of solar panel installation and helps with accurate system sizing.
Historical energy usage is another key factor. Reviewing your past utility bills alongside anticipated changes, like electric vehicle adoption, ensures your system is tailored to future needs. For a comprehensive walkthrough of these steps, consider the Essential guide to solar panel installation.
Professional Site Surveys and Feasibility Studies
An on-site inspection by certified professionals is a cornerstone of the process of solar panel installation. These experts examine your roof’s structural integrity, age, and material to confirm it can support solar arrays. They also check the electrical panel for compatibility and capacity, which is vital for safety and performance.
For ground-mount systems, soil and ground conditions are evaluated to ensure proper anchoring and stability. Sometimes, a shade analysis may reveal unexpected obstacles. In Oregon, one homeowner’s system was redesigned after a detailed shade study found seasonal tree growth would reduce output, leading to a smarter panel layout.
A professional survey can also identify other factors that influence the process of solar panel installation, such as local weather patterns and building codes. These assessments reduce the risk of costly changes later and help streamline permitting and approval phases.
Investing in a thorough feasibility study gives homeowners confidence and clarity before moving forward.
Financial and Environmental Considerations
Beyond technical factors, the process of solar panel installation must account for financial and environmental impacts. Calculating potential savings involves estimating annual electricity production, current utility rates, and available incentives. Most Oregon households, for example, save around $1,200 per year after installation.
Return on investment (ROI) and payback period are essential metrics. Solar systems typically pay for themselves within 7-10 years, depending on system size and local energy costs. Environmental benefits are also significant, with every kilowatt-hour generated reducing your carbon footprint.
Homeowners should explore eligibility for 2026 solar incentives, rebates, and tax credits at federal, state, and local levels. These programs can substantially lower upfront costs and increase long-term savings. Tracking these opportunities is a smart move for anyone considering the process of solar panel installation.
A well-planned project delivers both economic and ecological rewards, setting the stage for a brighter, more sustainable future.
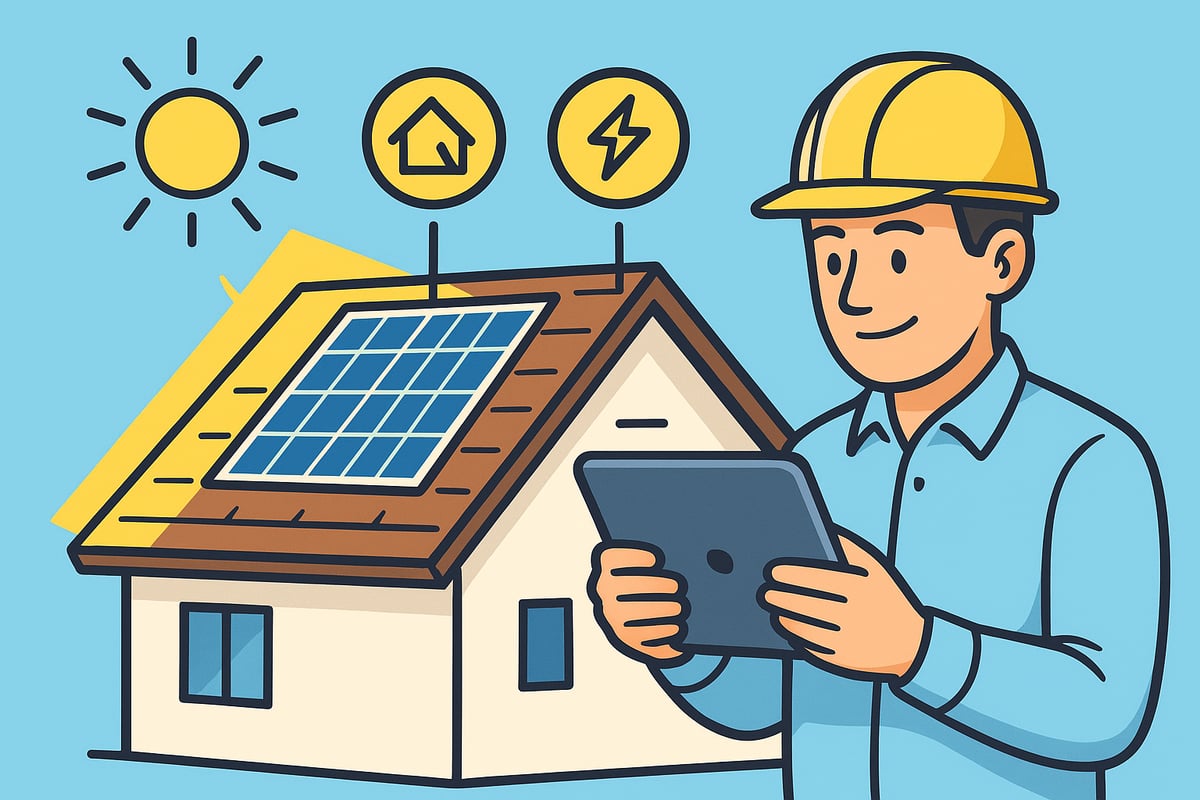
System Design, Product Selection, and Permitting
Designing a solar system that fits your property and future energy goals is a cornerstone of the process of solar panel installation. This stage lays the foundation for every technical and financial decision to follow. By aligning system design, product selection, and permitting, you ensure a seamless transition from planning to power generation.
Custom Solar System Design
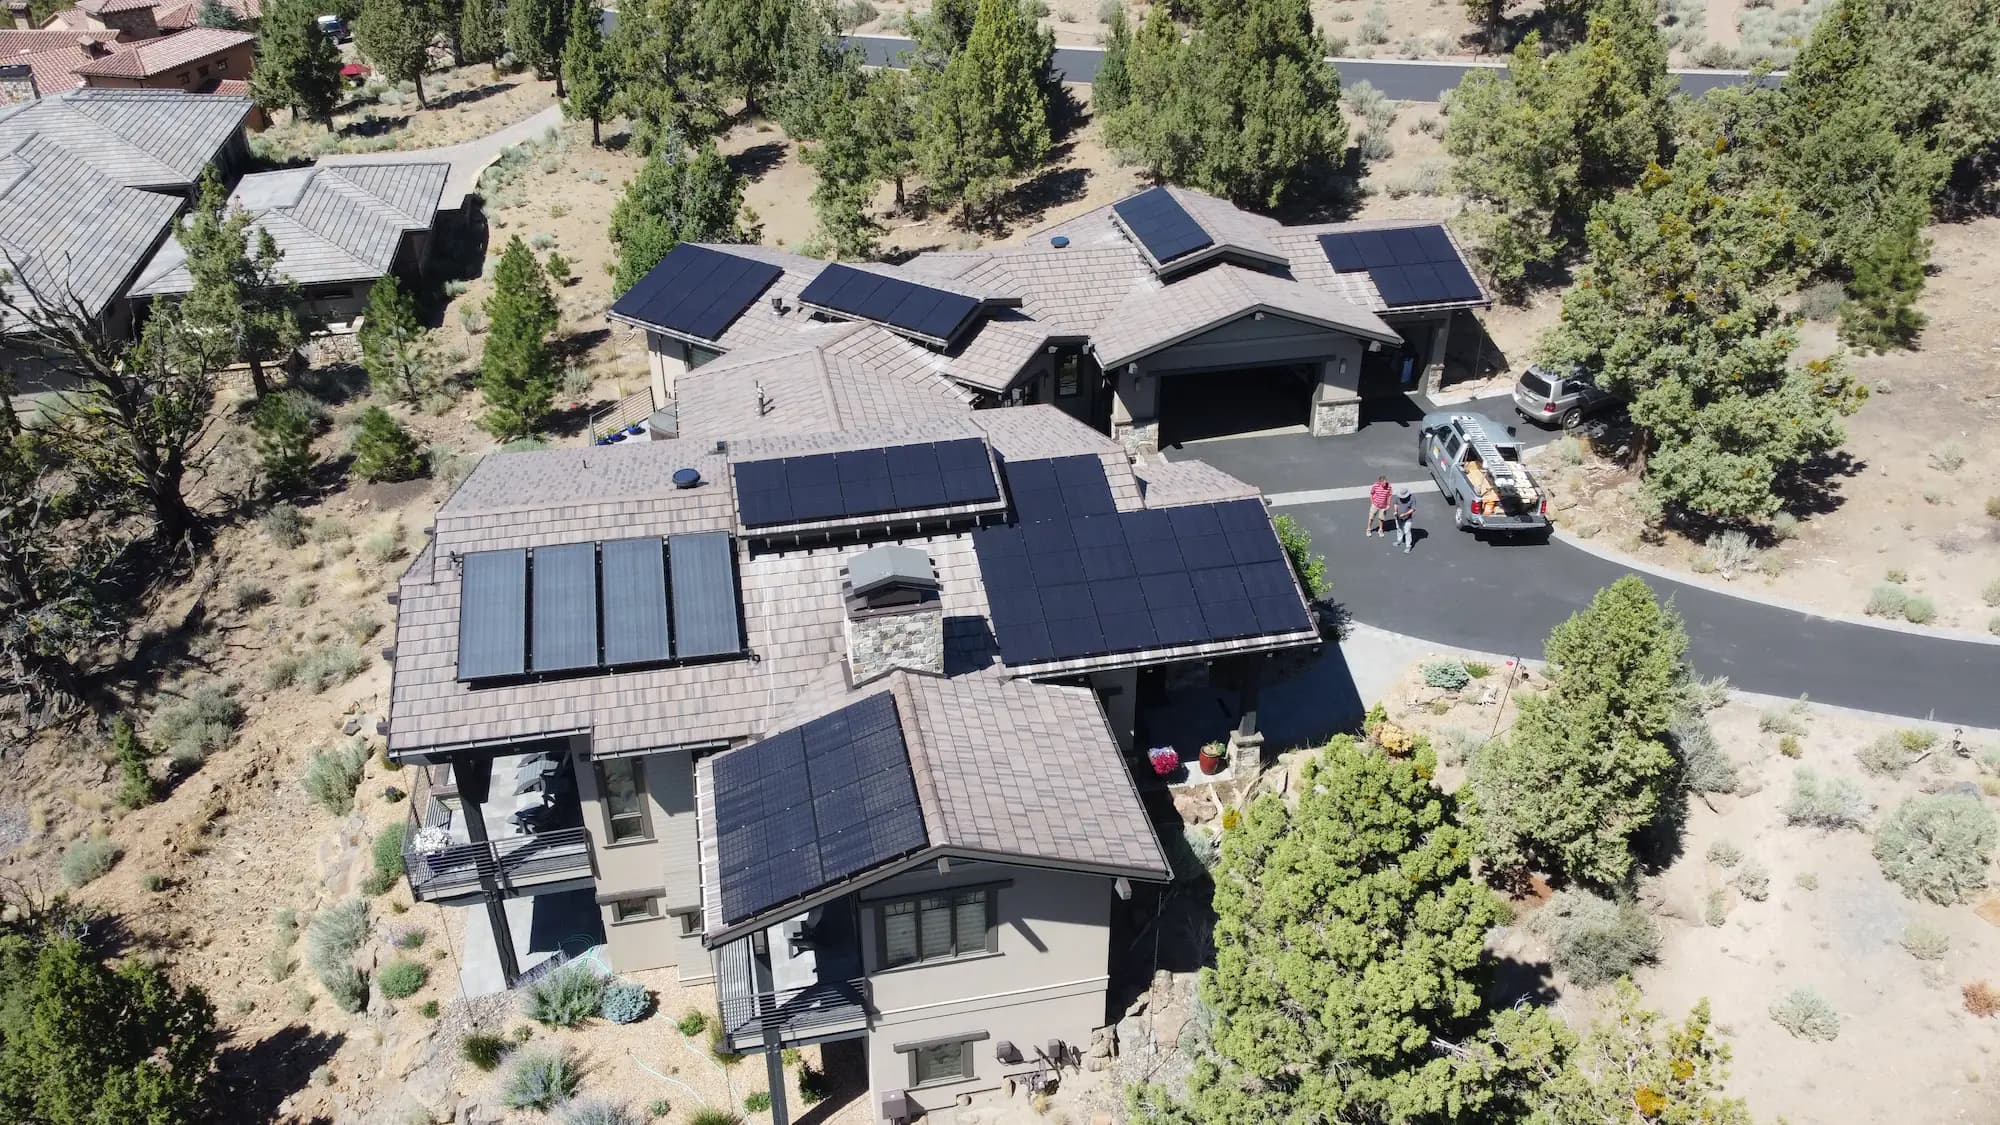
A tailored system design is essential for maximizing the benefits of the process of solar panel installation. Every home or business presents unique variables, from roof orientation and tilt to shading and available space. Professionals assess your historical and projected energy requirements, recommending system size and configuration to meet your goals.
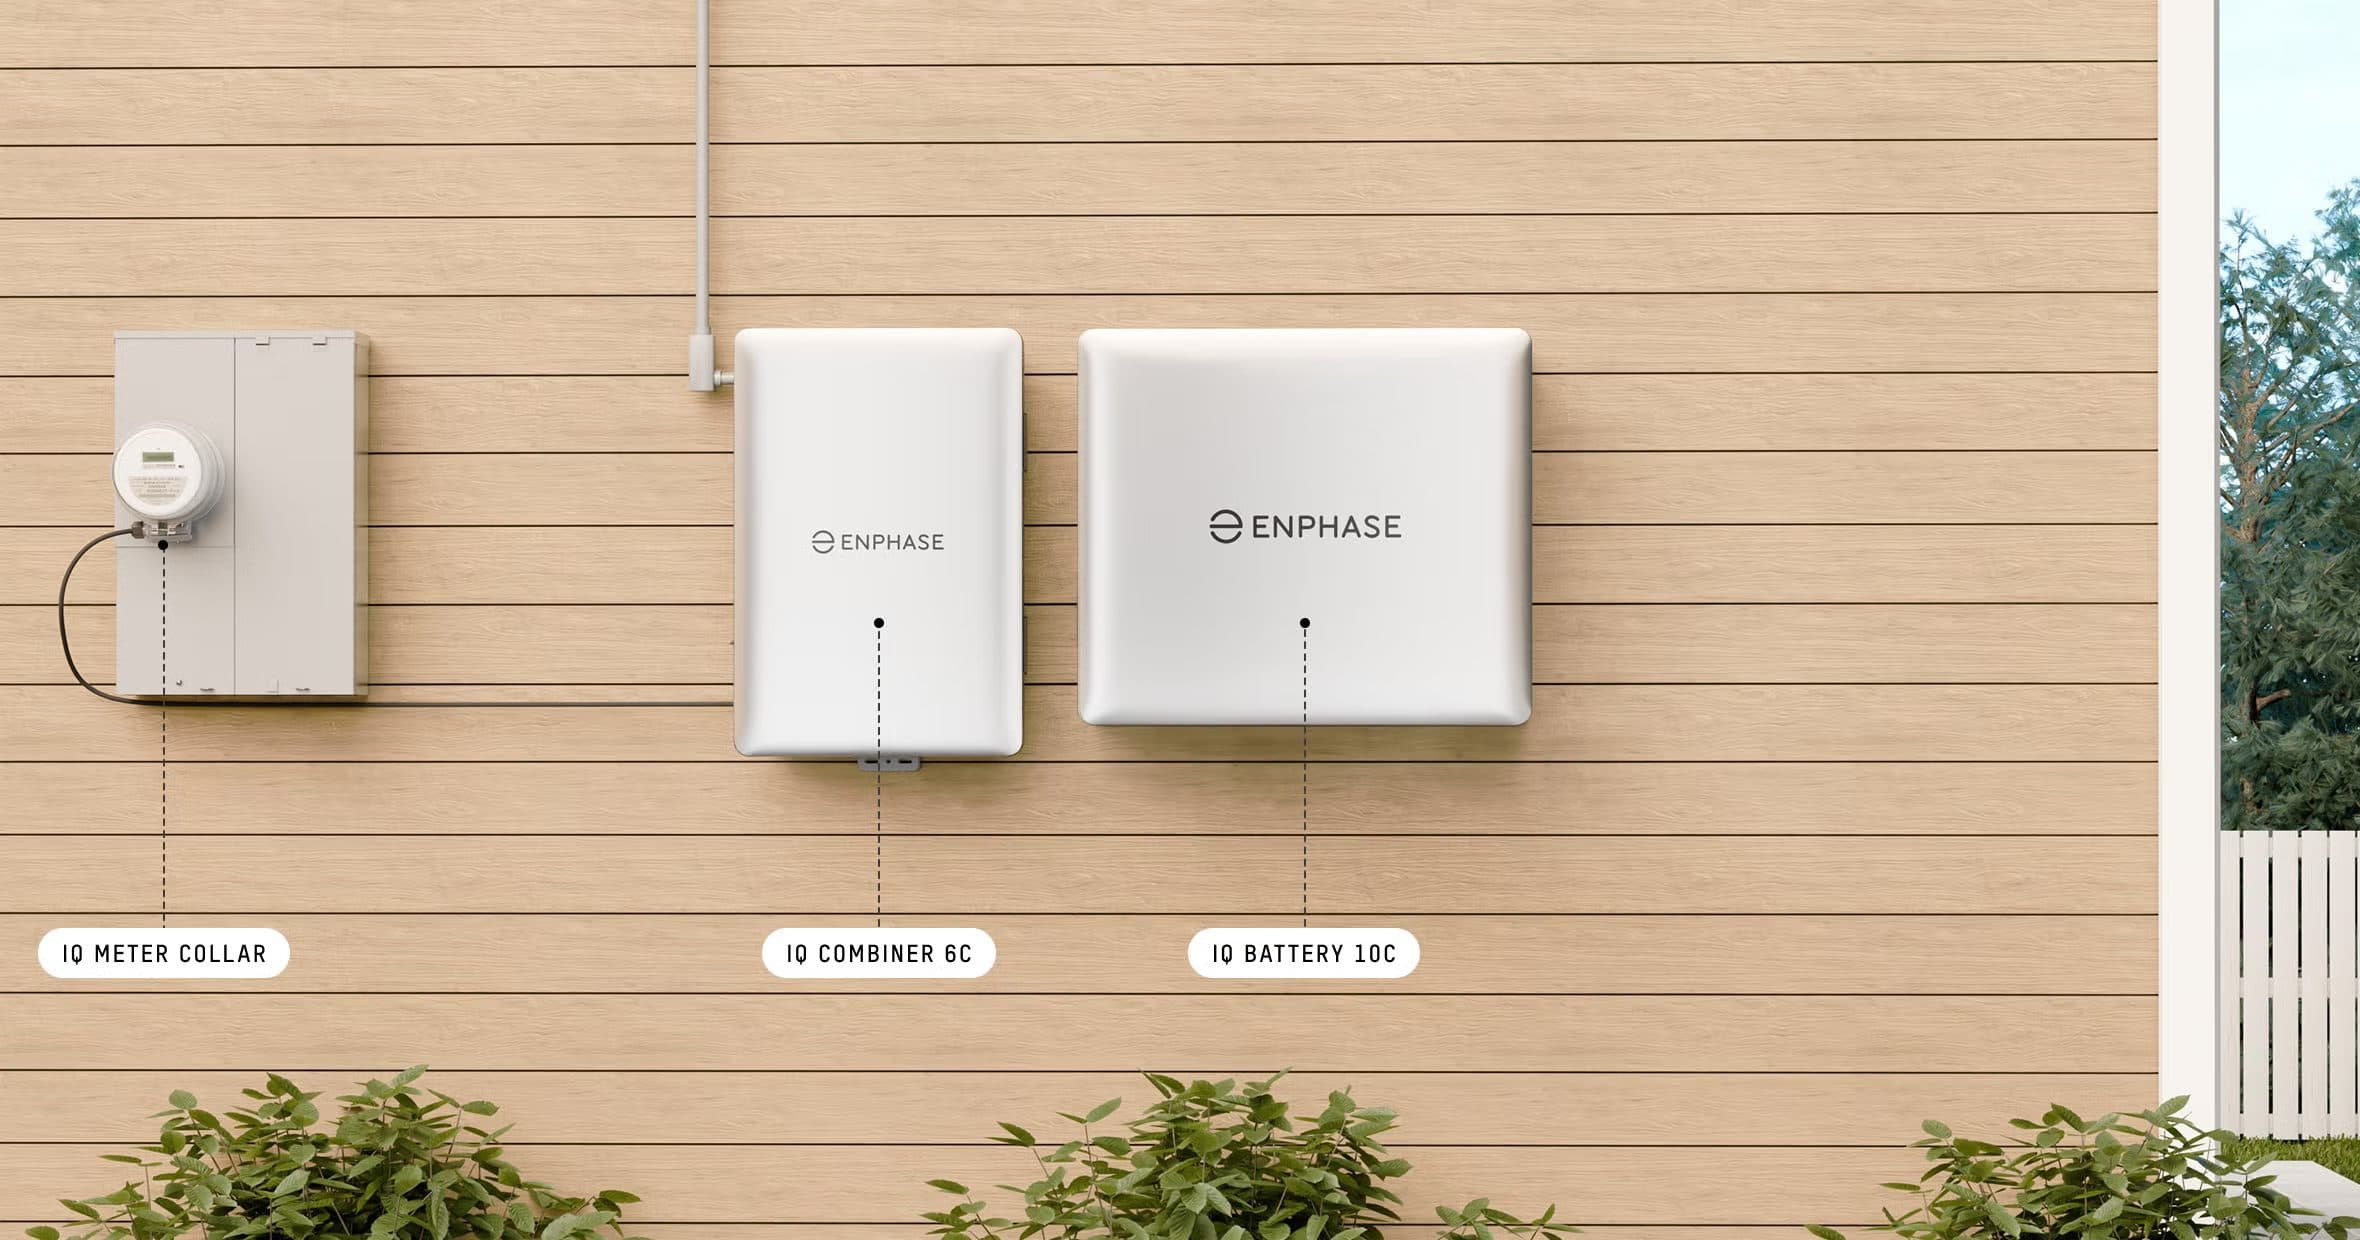
Future-proofing is a priority in 2026. Many designs now include battery storage and electric vehicle charging capabilities. For example, integrating an Enphase IQ Battery 10C provides backup power during outages, while a dedicated EV charger supports growing electrification needs.
Aesthetics also play a role. Homeowners may choose flush-mount panels for a sleek look, or opt for ground-mount systems if roof space is limited. Color-matched panels and racking can blend seamlessly with your property’s exterior, enhancing curb appeal.
For a deeper dive into the technical steps and best practices at this stage, explore the Ultimate guide to solar panel installation, which details how expert system design drives long-term performance and savings.
Choosing High-Efficiency Solar Components
Selecting the right equipment is key to the process of solar panel installation. In 2026, high-efficiency solar panels, such as the REC Alpha Pure-RX 460W, have become industry standards. Panels with efficiencies of 21 percent or higher now dominate the market, translating to more power from less space.
Inverters are equally important. Comparing microinverters and string inverters helps identify the best match for your site, especially if shading is a concern. Reliable brands offer extended warranties and have a proven track record of performance.
When reviewing products, prioritize those with certifications from recognized bodies. This ensures safety, durability, and eligibility for incentives. Manufacturer reliability and warranty support provide peace of mind, protecting your investment for years to come.
The impact of panel efficiency on the process of solar panel installation cannot be overstated. Higher efficiency panels mean lower installation costs per watt and better long-term returns. Always weigh initial costs against projected savings and system lifespan.
Navigating Local Permitting and Utility Approvals
Securing permits and utility approvals is a pivotal step in the process of solar panel installation. Local regulations vary, so understanding city and county requirements is crucial. Permits typically cover electrical, building, and sometimes fire safety aspects.
The permitting process may involve submitting detailed system plans, scheduling inspections, and waiting for approval. In Oregon, for example, streamlined processes have reduced average wait times by 40 percent, making it faster to move projects forward.
Net metering agreements and utility interconnection are also part of this phase. These allow you to feed excess energy back to the grid, offsetting your utility bills. However, delays can occur due to incomplete documentation or utility backlogs, so working with experienced professionals helps avoid common pitfalls.
Timely completion of this step ensures that the process of solar panel installation stays on track. With careful planning and attention to local requirements, you can minimize delays and maximize your system’s return on investment.
National Solar: Your Local Solar Installation Experts
When it comes to the process of solar panel installation, partnering with a trusted local provider makes all the difference. National Solar brings deep expertise in custom system design, permitting, and installation throughout Oregon.

Their award-winning service is recognized by the Energy Trust of Oregon, with a 98 percent customer satisfaction rate. Transparent pricing and comprehensive guidance on incentives help clients make informed decisions.
National Solar offers free site assessments and detailed proposals, ensuring homeowners and businesses understand every aspect of their project. With a track record of successful installations, they are a reliable partner at every stage of the process.
Step-by-Step Solar Panel Installation Process
Embarking on the process of solar panel installation in 2026 is a transformative step for your property. Every phase, from preparation to final inspection, is designed to ensure safety, efficiency, and optimal solar performance. Understanding the sequence not only empowers you but also sets clear expectations for a smooth experience.
Pre-Installation Preparation
The process of solar panel installation starts with meticulous planning. Once your contract is signed, your installer will provide a detailed project timeline. Materials such as racking, panels, and inverters are ordered and delivered to the site. Proper staging ensures all items are ready for efficient workflow.
Safety is paramount. Installers set up scaffolding and protective barriers to prevent accidents and protect your roof. Site preparation also includes clearing debris and confirming access points for equipment.
Clear communication is a vital part of the process of solar panel installation. Installers typically brief homeowners on what to expect, including noise levels, daily work hours, and parking needs. For a deeper dive into this stage, see What to expect during solar installation, which outlines the customer experience in detail.
A typical preparation period for a 7kW system lasts one to two days. This ensures your property is ready for the next step without surprises.
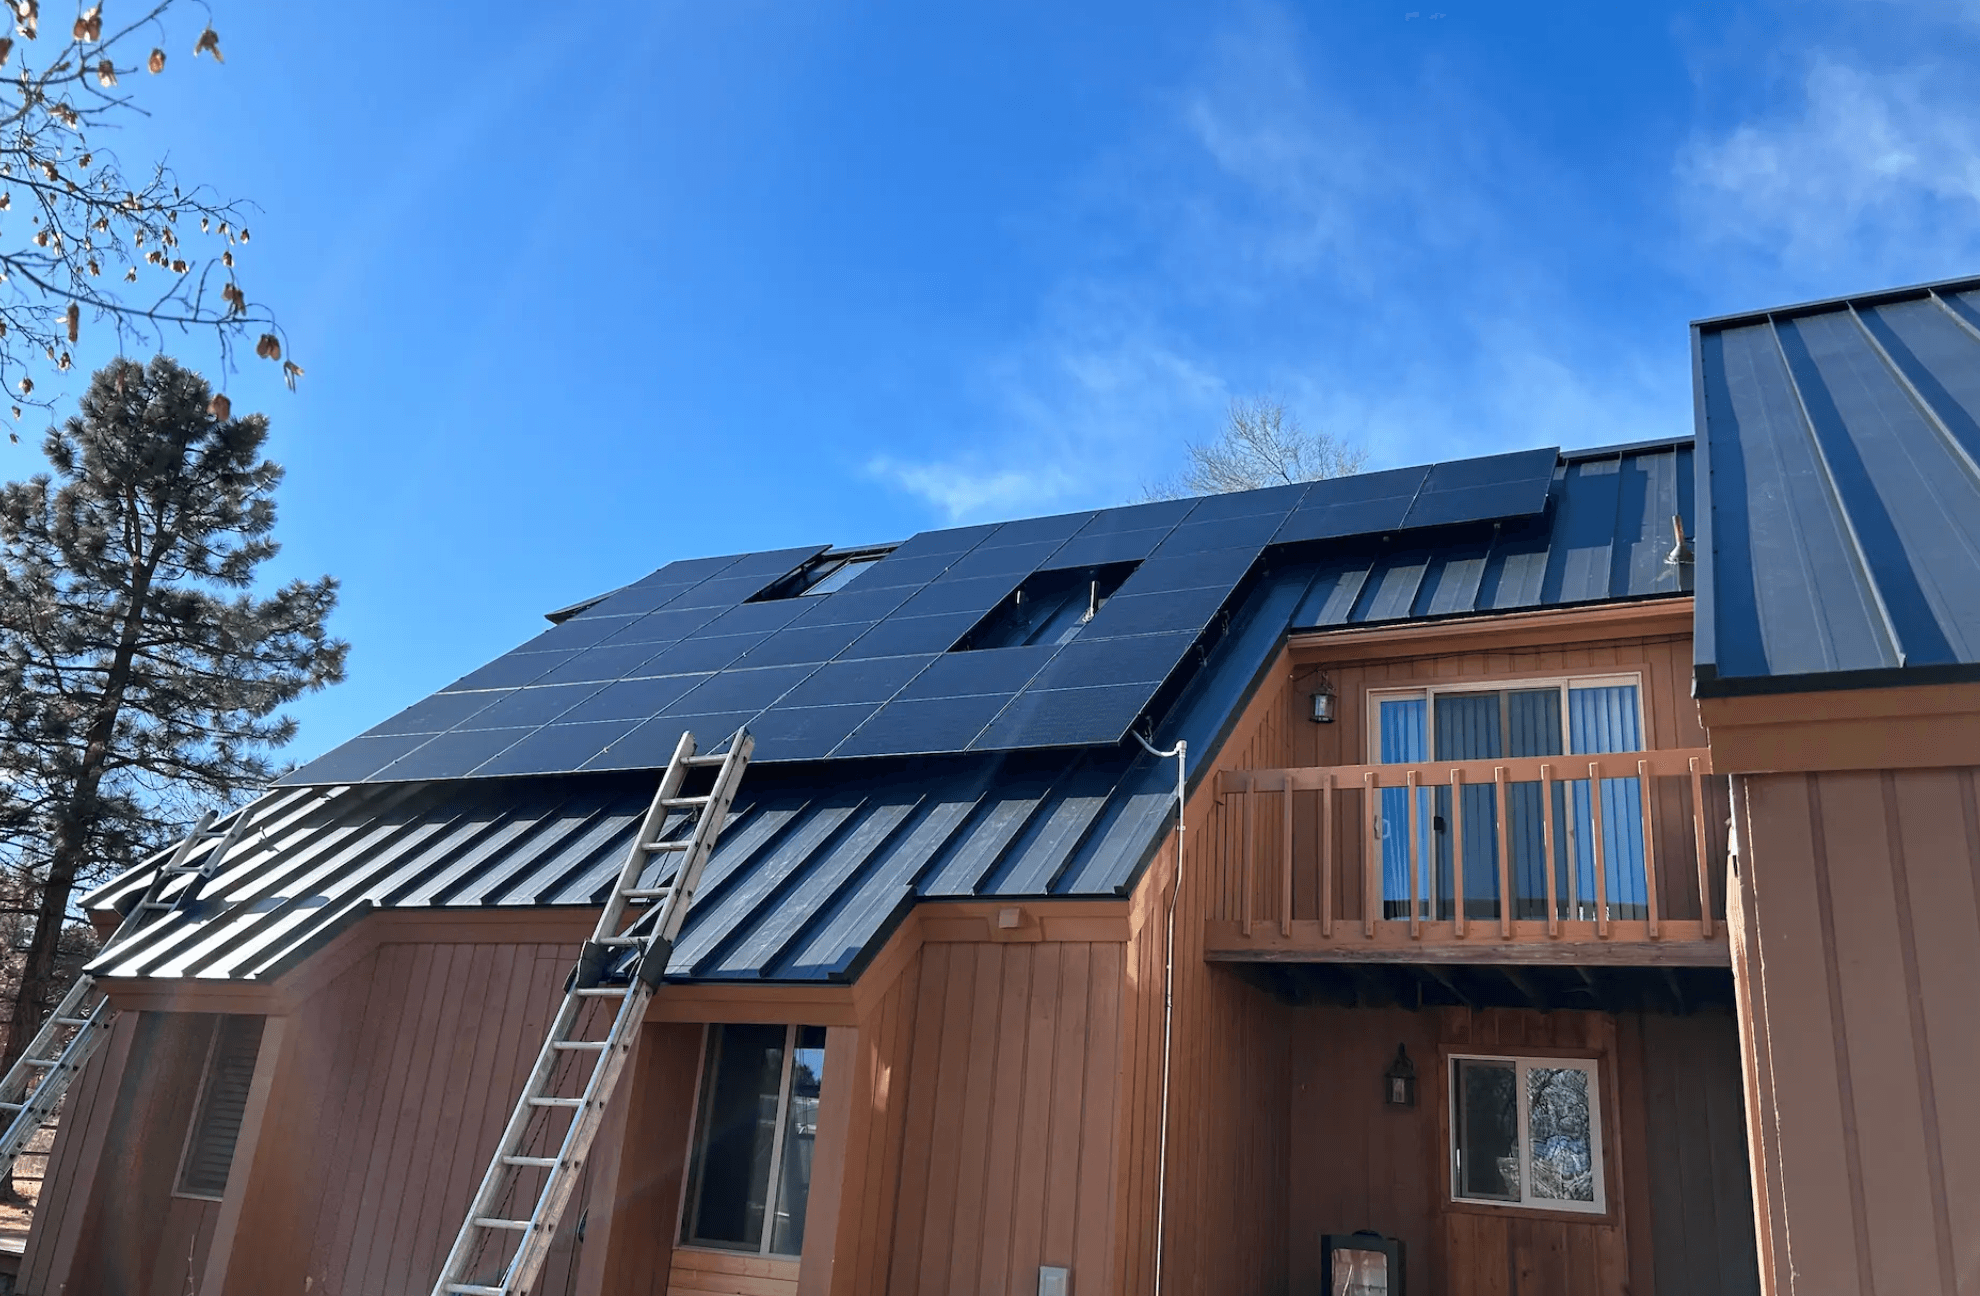
Solar Panel Mounting and Electrical Work
With preparations complete, the process of solar panel installation moves to mounting and electrical integration. Technicians install the racking system, which forms the foundation for either roof or ground-mounted arrays. These racks are anchored securely to withstand weather and support the panels for decades.
Next, solar panels are carefully positioned and attached using weather-resistant hardware. Installers then run conduit and wiring, connecting each panel into the overall circuit. This step is crucial for maximizing energy harvest and ensuring electrical safety.
Inverters and optimizers are installed at this stage. In sites prone to shading, microinverters are often chosen for their ability to boost output from individual panels, making the process of solar panel installation more resilient to variable sunlight. Battery systems may also be integrated if backup power or energy storage is desired.
Throughout this phase, attention to detail is key. Proper wire management and secure connections prevent future maintenance issues and support long-term reliability.
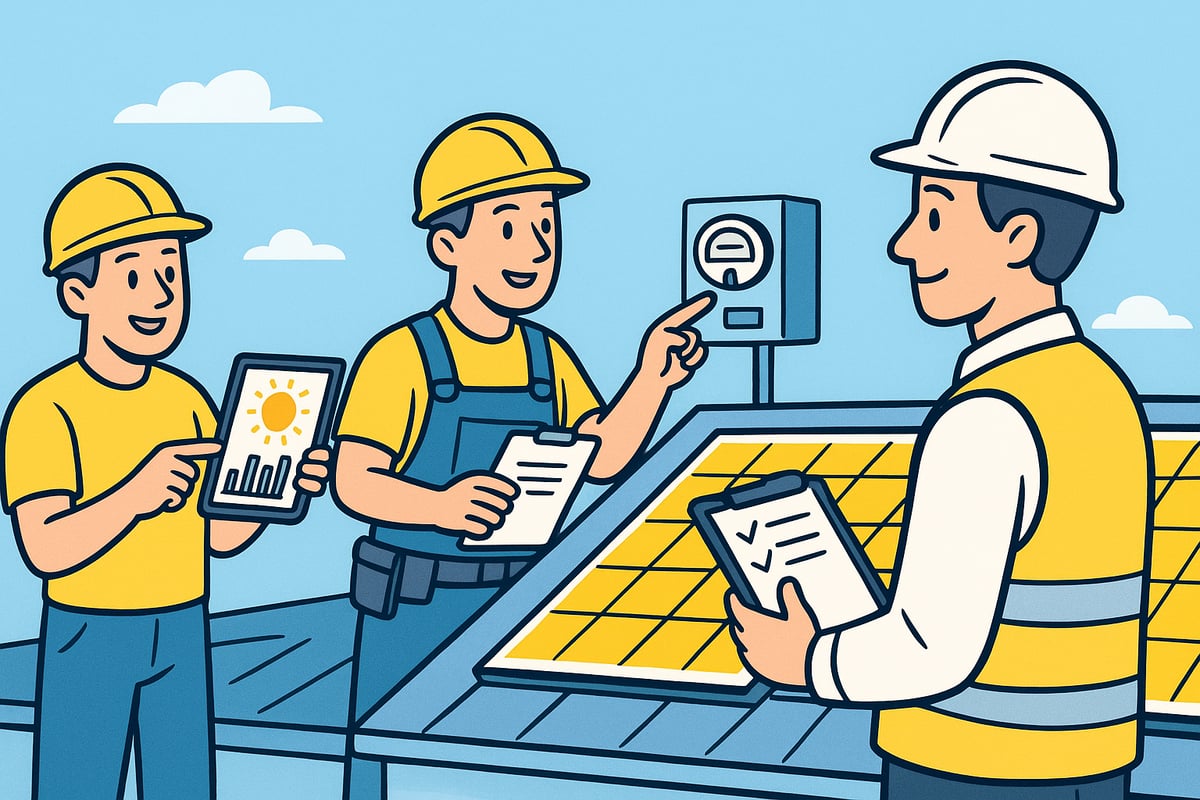
System Integration and Quality Assurance
After physical installation, the process of solar panel installation advances to system integration and quality assurance. Technicians connect the solar array to the main electrical panel, ensuring proper grounding and compliance with local codes.
Comprehensive testing follows. Installers measure voltage and current, confirming that all connections are safe and that the system functions as designed. Quality control checks include:
- Verifying torque on all fasteners
- Inspecting weather sealing around penetrations
- Ensuring all wiring is properly routed and labeled
Innovative tools like drones and thermal imaging cameras are often used during the process of solar panel installation to spot potential issues invisible to the naked eye. This technology helps identify hot spots, loose connections, or shading problems quickly.
A sample post-installation checklist:
- Confirm all panels securely mounted
- Test voltage and current at inverter
- Inspect weatherproofing around mounts
- Run thermal scan for hot spots
- Label all disconnects and breakers
Quality assurance ensures your system is ready for inspection and long-term performance.
Timeline and Installation Best Practices
The process of solar panel installation varies depending on system size and site complexity. Residential installations typically take two to five days, while commercial projects may extend from one to three weeks.
Below is a quick comparison of average installation durations:
System Type
Average Duration
Residential
1-2 days
Commercial
1-3 weeks
Hiring NABCEP-certified installers is a best practice. Certification ensures work meets stringent industry standards and local codes. This step minimizes risks and streamlines the inspection process.
Common pitfalls to avoid during the process of solar panel installation include:
- Inadequate flashing around roof penetrations
- Improper wire management
- Skipping quality control steps
Focusing on these best practices ensures a safe, efficient, and code-compliant solar installation.
Inspection, Activation, and Utility Interconnection
After the installation phase, the process of solar panel installation moves into its final, crucial stages. These steps ensure your solar energy system is safe, fully compliant, and ready to deliver clean power. Let’s break down what happens during inspection, utility interconnection, and system activation.
Final Inspections and Compliance
The process of solar panel installation requires a comprehensive inspection by local building officials. These inspections confirm that your system meets all electrical, structural, and fire safety codes. Typically, inspectors review the mounting hardware, electrical wiring, grounding, and inverter placement.
A standard inspection checklist includes:
- Verification of code-compliant wiring and conduit
- Proper attachment of racking and panels
- Safe integration with the main electrical panel
- Adequate signage and labeling for emergency responders
If minor issues are found, installers quickly address them to keep the project on track. In Oregon, common inspection comments involve correcting labeling or adjusting wire management. For a deeper dive into inspection standards, consult the Solar Energy Guide for Homebuilders, which outlines best practices for compliance at every step of the process of solar panel installation.
Utility Interconnection and Net Metering Setup
Once inspections are complete, the next step in the process of solar panel installation involves connecting your system to the utility grid. Installers submit the required documentation to your local utility, including electrical diagrams and proof of compliance.
The utility company then schedules the installation of a bidirectional meter, allowing you to export excess solar energy back to the grid. In 2026, the average approval time for interconnection is 7 to 14 days. Most homeowners opt into net metering programs, which track your exported power and provide credits on your energy bill.
Key steps include:
- Submitting interconnection applications
- Scheduling utility meter installation
- Finalizing net metering agreements
With most new solar adopters in Oregon choosing net metering, this phase ensures ongoing savings and a seamless transition to renewable energy as part of the process of solar panel installation.
System Activation and Commissioning
The final step in the process of solar panel installation is system activation. Once utility approval is granted, your installer will turn on the system and guide you through a comprehensive walkthrough.
During commissioning, the team checks real-time performance using monitoring apps or customer portals. You’ll learn how to monitor your energy production, identify alerts, and understand system safety features.
Typical commissioning includes:
- Verifying system output matches expectations
- Demonstrating monitoring platform use
- Reviewing safety protocols and shutdown procedures
With your system now live, you can enjoy clean, reliable power and start tracking your solar savings from day one. The process of solar panel installation concludes with confidence in both safety and performance.
Post-Installation Maintenance, Monitoring, and Upgrades
After the process of solar panel installation is complete, your journey toward energy independence is just beginning. Proper care and regular monitoring ensure your solar investment continues to deliver peak performance and savings for years to come.
Routine Maintenance and Performance Monitoring
Keeping your solar panels clean and free from debris is essential for maximizing output. After the process of solar panel installation, schedule routine inspections to check for dust, leaves, or snow accumulation. Most homeowners clean panels two to three times per year using soft brushes or water.
Performance monitoring platforms make this task easier. Modern systems provide real-time data and automated alerts for underperforming panels. These tools help you spot issues early, ensuring your system operates at 98 percent or higher efficiency over the next decade. For more on best practices, explore solar panel maintenance and service offered by local experts.
Troubleshooting and Warranty Support
Occasionally, issues may arise after the process of solar panel installation. Common problems include inverter errors, new sources of shading, or wiring faults. Most modern systems will notify you through their monitoring platforms if something is wrong.
If you notice a drop in performance or receive an error alert, first check for obvious obstructions or debris. For persistent issues, refer to your installer’s warranty or manufacturer support, such as the SolarMax Warranty. Knowing when to attempt a DIY fix versus calling a professional is crucial for maintaining your warranty and safety.
Upgrading and Expanding Your Solar System
As your energy needs change, you might consider system upgrades after the process of solar panel installation. Adding extra panels, battery storage, or an EV charger helps future-proof your investment and increases energy independence.
Evaluate the return on investment by comparing energy savings with upgrade costs. Many Oregon homeowners have successfully added batteries for blackout protection or expanded their arrays to support electric vehicles. Upgrades are often straightforward, especially if your original design anticipated future expansion.
Maximizing Incentives and Ongoing Savings
Your process of solar panel installation does not end with activation. Stay informed about new rebates, tax credits, or community solar programs that could further reduce your energy costs. Many incentives are updated annually, so reviewing them each year can significantly boost your long-term savings.
Participating in grid services or local incentive programs can add another layer of financial benefit. Keep records of your system's production and maintenance to streamline incentive applications and maximize your solar ROI.
After exploring each step of the solar panel installation process and seeing how the right guidance makes all the difference, you may be wondering what solar could look like for your own home or business. At National Solar, we combine years of expertise with a commitment to exceptional service, ensuring your transition to clean energy is seamless and rewarding. If you’re curious about your savings potential or want to see how solar fits with your unique needs, you can take the next step with confidence—simply Get a Free Estimate and start your journey toward a brighter, more sustainable future.
Written by
National Solar Team
Bend, OR